Prepping For Perfection: Steps To Achieve A Smooth, Flawless Paint Finish
A beautiful finish from painting depends on proper wall preparation. Ignoring this phase could result in uneven surfaces, peeling paint, and a poor look, therefore reducing the whole beauty of the area. Properly preparing the walls guarantees that the paint sticks effectively, therefore producing a professional-looking product with longevity.
Good wall preparation calls for surface washing to remove filth and oil, hole or crack repair, and wall sanding to provide a smooth texture. Painting raw surfaces or changing colors calls especially for a primer as it guarantees an equal foundation and improves paint adherence. Good preparation not only extends the lifetime of the finish but also reduces future touch-up need.
The main steps to correctly prepare their walls before painting will be revealed to readers of this page, therefore assuring the best possible results.
Cleaning the Walls
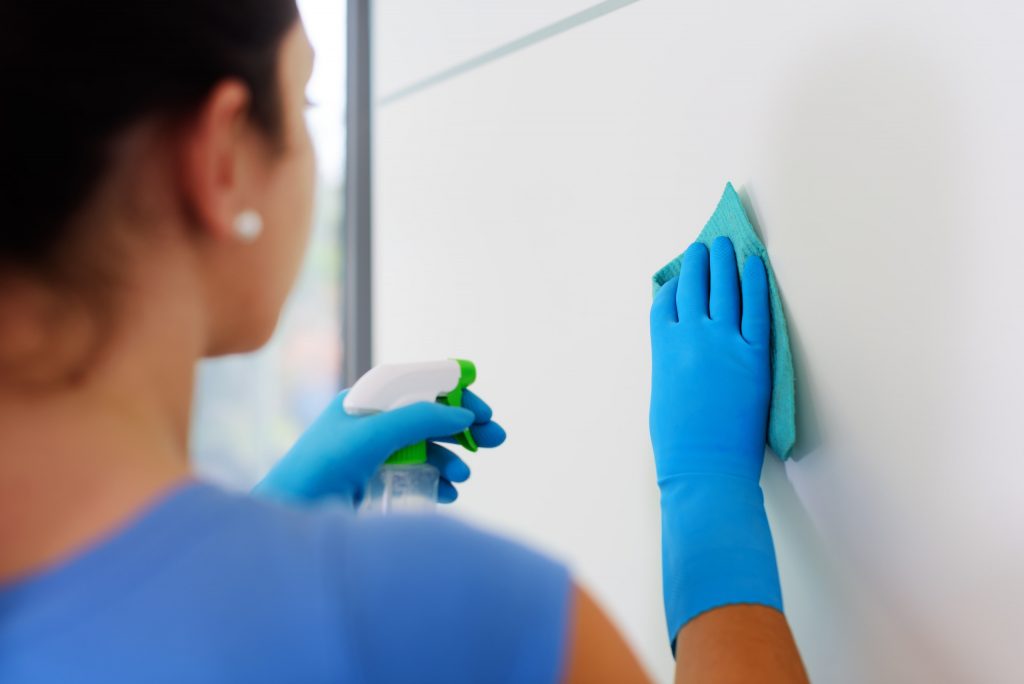
Before painting walls, cleaning trash, dust, and grease provides a beautiful and smooth surface. Any residue left on the surface might lead to incorrect adhesion of paint, leading to over time flaking and uneven patches.
If one wants to quickly clean the walls, one can mix mild soap with water. Focusing on areas clearly dirty or oily, immerse a sponge into the soapy solution and lightly scrape the walls. This method softly removes debris without damaging the paint or drywall underneath.
They ought to be thoroughly washed with fresh water after washing if they are to remove any soap residue from the walls. Especially, let the walls totally dry after washing. This drying period guarantees a long-lasting finish as it helps the new coat adhere better and prevents moisture from damaging paint adherence.
By means of deliberate use of these cleaning methods, one builds a firm framework for the painting process, therefore generating output of a professional grade.
Repairing Cracks and Holes
Fixing holes, dents, and cracks will assist walls be ready for a flawless finish before painting. First I go over the walls for any obvious damage. This includes searches for dents, cracks, and other holes that could have developed over time.
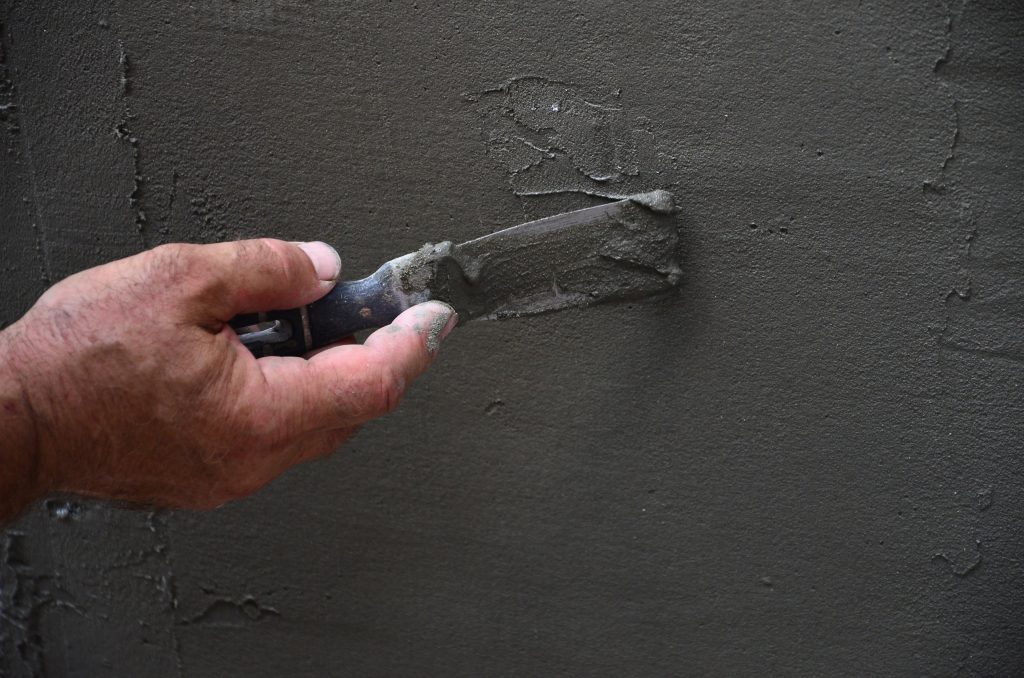
Once found, next comes the filler or spackling material. A lightweight spackling compound does well for cracks and minor holes; bigger holes might call for a heavy-duty filler. Using a putty knife, apply the compound so that it is pressed into the aperture to form a strong bond. As recommended by the manufacturer, let the repair dry completely.
Sanding is quite vital after the repairs have set. Smoothen the filled portions using fine-grit sandpaper until they level with the surrounding wall. This stage guarantees a consistent surface and aids in greater paint adhesiveness. After sanding is finished, use a moist cloth to wash away any dust thus ready the walls for the last painting application.
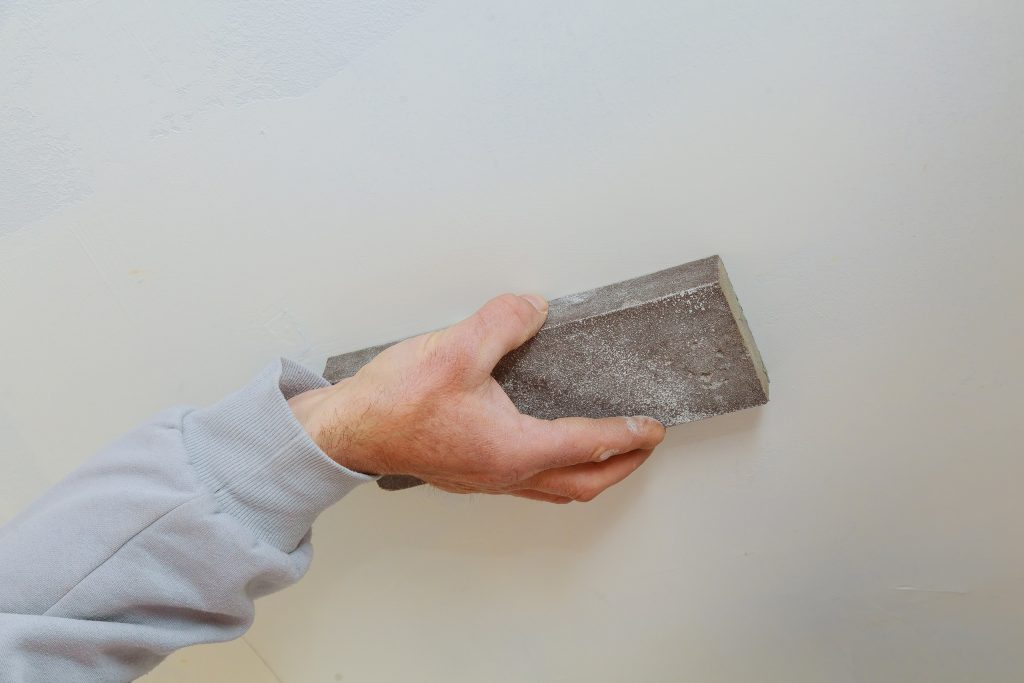
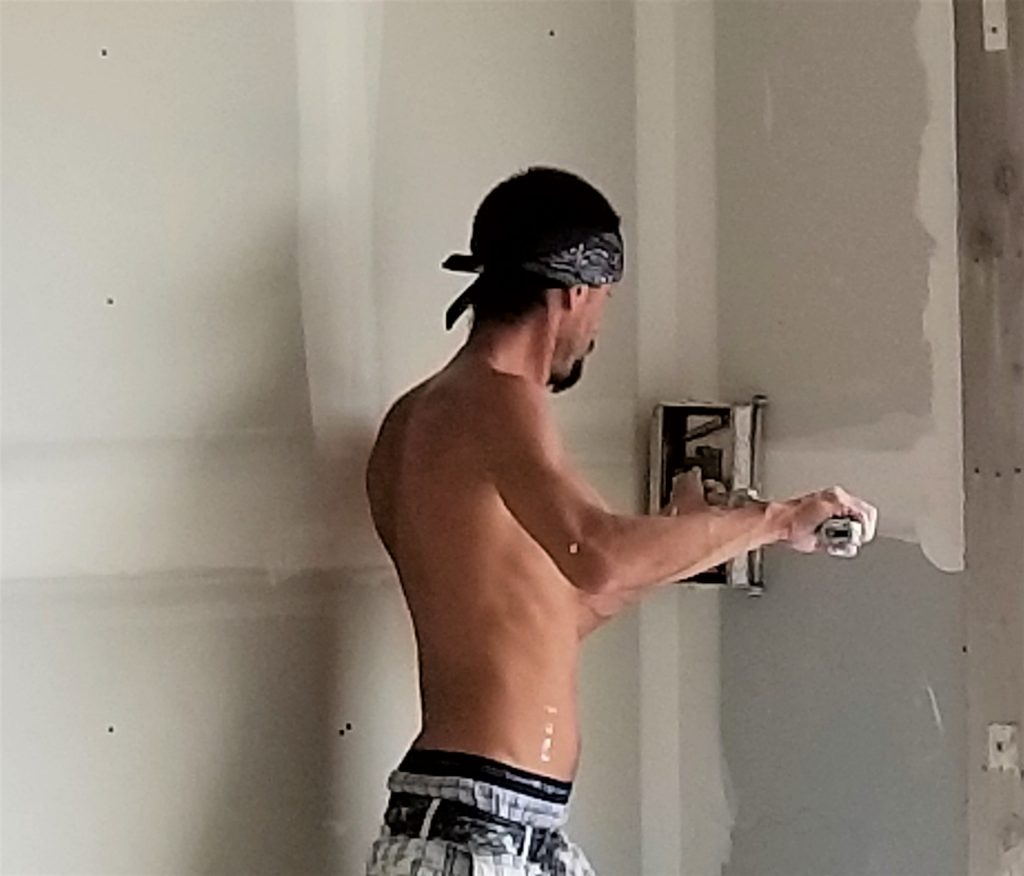
Sanding for Smoothness
A good and perfect paint finish depends on first sanding walls. It produces an even surface that helps paint stick better and helps to avoid unequal textures. To properly eliminate flaws on tough surfaces, a coarser grit sandpaper—between 80 and 120 grit—is advised. Touch-ups with finer grit sandpaper (220 grit) can guarantee a polished finish after the rough areas are smooth ened.
Sanding leaves dust that must be cleaned up to prevent paint flaws. For small particles, a tack cloth is best; for bigger trash, a vacuum will do. Cleaning the wall surface helps to remove dust from inhibiting paint adherence, therefore producing a professional-looking result.
One creates the basis for a flawless paint application that, by carefully polishing the surface and sanding the walls, improves the whole look of the room.
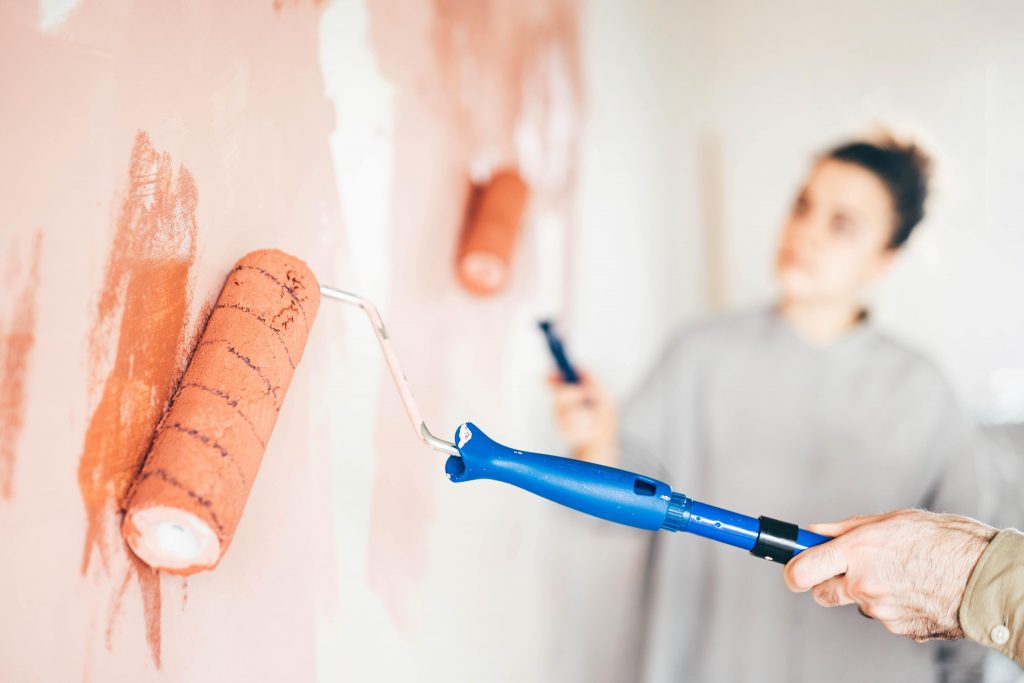
Priming the Surface
Especially for a perfect and faultless finish, priming the surface is an absolutely vital step before painting walls. Particularly on patched or porous areas, primers protect the surface, stop unequal absorption of paint, and improve adherence, therefore offering various advantages. This guarantees increased homogeneity of look and improved durability.
The wall surface determines the appropriate primer to be used. While a stain-blocking primer may be required to hide flaws and stop bleed-through on previously painted walls, a latex-based primer performs well for drywall.
A desired outcome depends on proper application. Applying primer equally using a roller or brush reduces the possibility of streaks and guarantees best coverage. Before starting the paint, let enough drying time—usually one to four hours—dependent on the product allow. This guarantees correct adherence of the topcoat, therefore improving the finish quality and eventually helps to produce a professional-looking paint job.
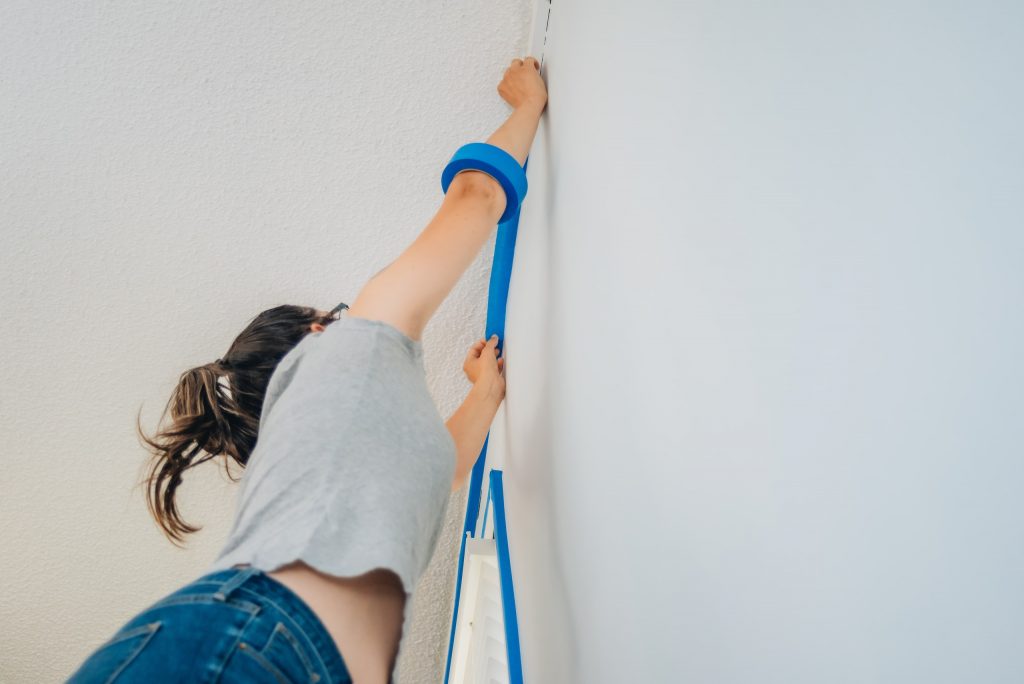
Taping and Protecting Trim and Fixtures
Guard trim, light switches, outlets, and wall coverings to provide a flawless, faultless finish before painting. It is a required instrument as painters’ tape forms a barrier preventing paint from leaking onto these surfaces. Correct tape application ensures professionally pleasing results and well defined edges.
First brush the surfaces to gather trash and dust for perfect taping. Therefore, exact measuring and tape cutting demand for a straight edge. To seal the borders and stop paint seepage, firmly press down the tape. By insuring a precise application, burning the tape with a putty knife might aid to enhance results.
Apart from safeguarding trim and fittings, floor and furnishings should be covered. Laying down drop cloths or plastic sheets can help you to collect any drips or spills, therefore shielding your area from unwelcome paint markings. Make sure the covers slightly overlap to prevent any holes where paint can leak through. These first actions will much help to produce a perfect and clean wall finish.
Conclusion
Following important preparatory techniques exactly can help you to get a perfect house painting job. First, check the walls for any flaws—such as holes or cracks—then fix them with spackle or filler so that they are smooth-finish. Clean the surfaces then carefully to eliminate filth, debris, and dust that can compromise paint adherence. The walls have to be primed as it ensures a consistent foundation and extends the longevity and appearance of the paint. Painter’s tape and drop cloths will also assist to prevent unintended splatters and drips on adjacent surfaces. Time invested in these preparation phases is vital; a well-prepared surface will enhance the overall look of the paint job and provide professionally-looking effects. Anyone who gives the necessary time to be ready will have a great finish.